Professional Tips for Perfect Kitchen Cabinet Restoration
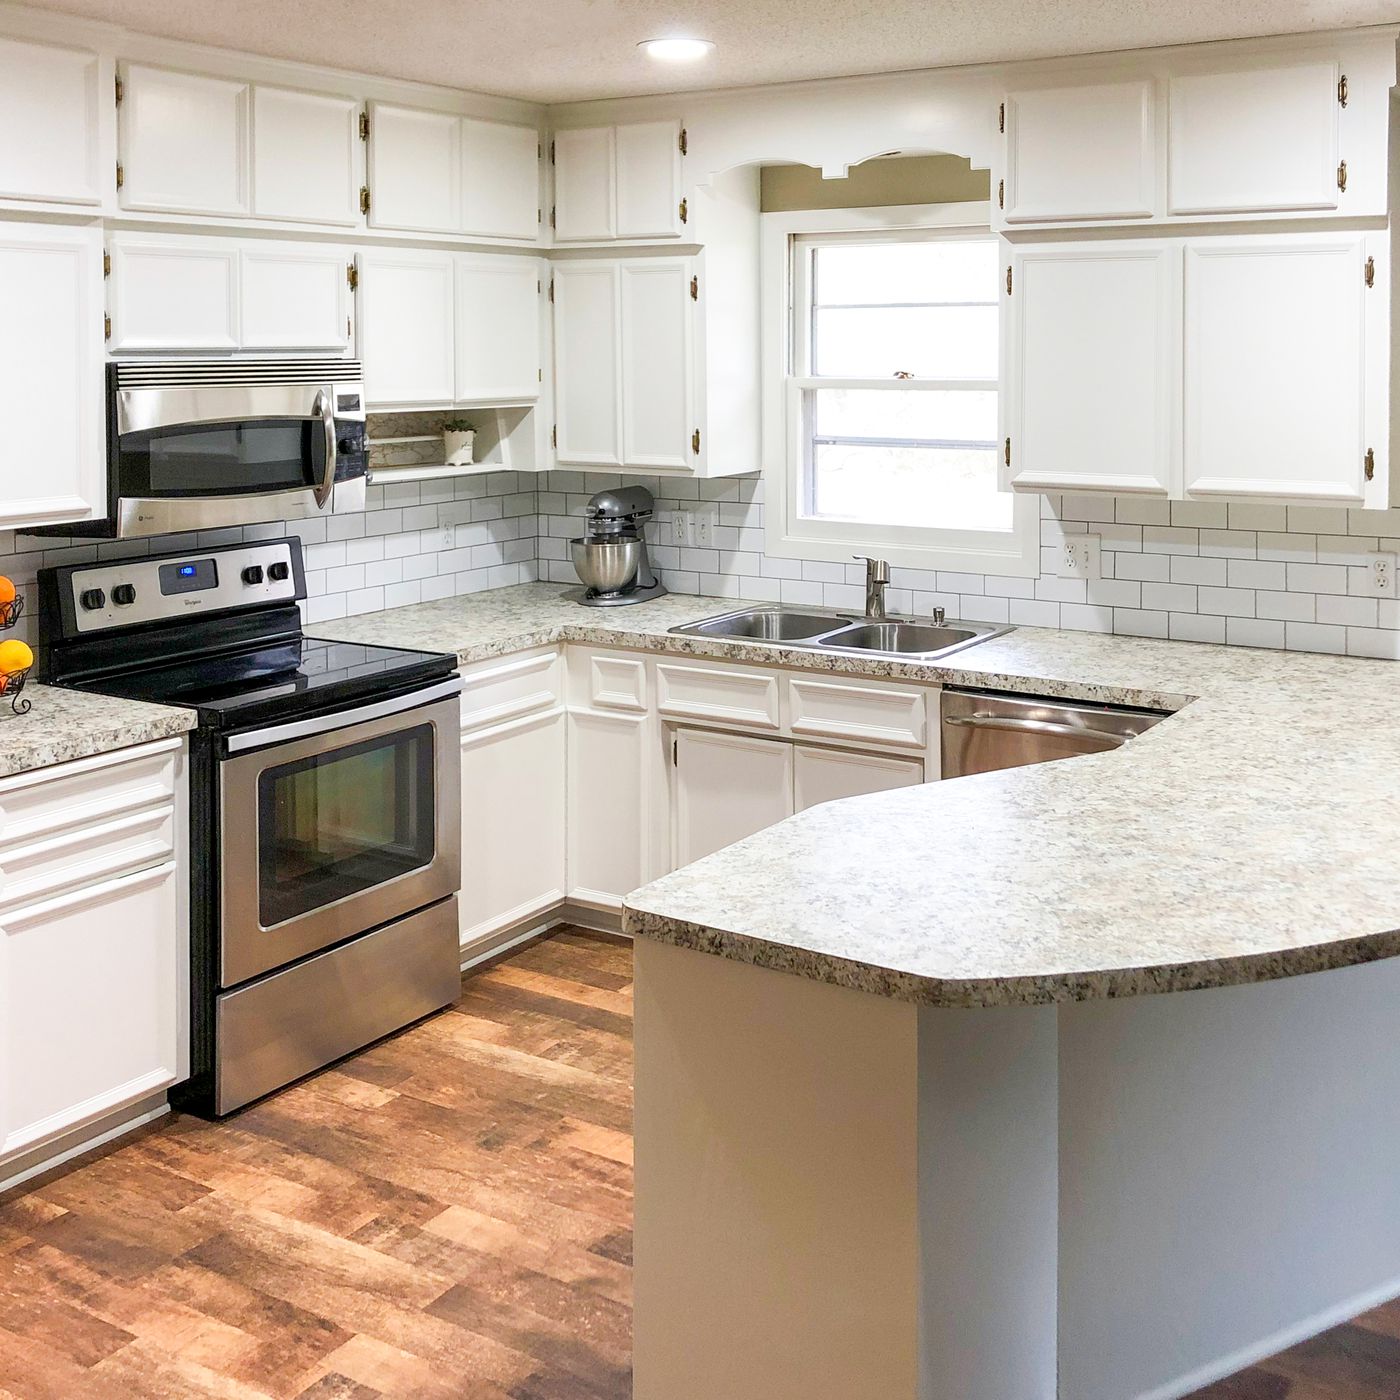
As it pertains to transforming your kitchen, repainting cabinets can make a significant difference without a complete renovation. Kitchen cabinet refinishing enables you bring new life into tired and deteriorated cabinetry, enhancing both the appearance and value of your home. Whether you want to refresh your existing style or alter it completely, knowing how to approach this task can lead to stunning results that impress family and friends alike.
This process necessitates thorough preparation, the correct materials, and a bit of patience. From deciding on the perfect look to ensuring a seamless application, each step plays a key role in achieving a perfect look. In this article, we will share expert advice that will guide you through the ins and outs of kitchen cabinet refinishing, enabling you to reach a professional finish that exhibits your personal style.
Cabinet Refinishing Guide
Initially, when refinishing kitchen cabinets is to clear the area. Take out all belongings from the cabinets and countertops to create an open workspace. This safeguards your belongings but also allows for unimpeded access to all surfaces that need attention. Think about laying a drop cloth on the floor and protecting appliances to safeguard them from dust and debris during the refinishing process.
Following this, it is important to clean the cabinets well. Use a solution of warm water mixed with dish soap to clean all surfaces. For grease buildup, a stronger cleaning solution may be necessary. Make sure to rinse off any soap residue with a damp cloth and let the cabinets to fully dry before proceeding. This step is critical as it ensures that the new finish sticks well.
Finally, examine the cabinets for any necessary repairs. Look for scratches, dents, or any areas where the wood has broken. Fill in any imperfections with wood putty and sand those areas even once dry. If the existing finish is flaking or peeling, it may be necessary to remove the finish to the bare wood. Proper preparation will set the stage for a flawless refinishing job and ensure a durable, long-lasting result.
Selecting your Suitable Supplies
Choosing the right materials is important for an effective kitchen cabinet refinishing project. Begin by choosing premium wood cleaner and degreaser. This step is crucial as it ensures that any grease, dirt, or previous finish is removed, allowing the new finish to stick properly. Look for products specifically designed for wood surfaces to avoid ruining the cabinets. A clear surface enhances the general look and longevity of the refinishing.
Then, consider the type of primer and paint or stain you will use. Solvent-based paints and primers tend to offer a even finish and excellent durability, making them suitable for kitchen environments. However, aqueous options are generally eco-friendly and emit less odors, which makes them easier to work with. Choose a finish that complements your style, whether it is a glossy look for a modern kitchen or a matte finish for a more traditional appearance.
In conclusion, don't overlook finish coats. A high-quality polyurethane or varnish can safeguard your newly refinished cabinets from dings and moisture. Choose a topcoat that matches your selected paint or stain. Additionally, consider your preferred sheen you prefer. A higher sheen offers greater durability and easy cleaning, while a satin or matte finish can hide imperfections more effectively. Investing in quality materials can substantially influence the result of your kitchen cabinet refinishing project.
Application Techniques
When refining kitchen cabinets, getting ready is key to achieving a smooth finish. Begin by cleaning Diamond Spray Finishers to remove any grease or grime that could interfere with sticking. Sanding is also crucial; use a medium-grit sandpaper to rough up the surface, followed by a fine-grit for a finer finish. This method helps the new finish adhere better and gives a much even appearance. Be sure to wipe away the dust with a damp cloth before applying any new coating or stain.
After the surface is prepped, select the appropriate application method for your coating. For paints, using a high-quality brush or a foam roller can help reduce brush strokes and provide an even coat. If you choose for a spray application, ensure you do so in a well-ventilated area with protective gear. Apply light coats rather than one thick layer, allowing sufficient drying time between coats. This not only enhance the durability of the finish but also leads to a better polished look.
After the finishing coats are applied, think about adding a clear protective topcoat to seal and enhance the color. A water-based polyurethane can give an extra layer of durability while allowing the beauty of your chosen paint or stain to shine through. Make sure to follow the manufacturer's instructions for application and drying times. Take your time with all steps, and your kitchen cabinets will be transformed with a perfect finish that lasts.